Main page content
Click to collapse
Export Settings
Once the lesson is completed, learners will be able to know how to Export and different ways of exporting in OpenShot Editing Software.
To export your project you have to reach the top left with your mouse and click on the red dot icon.
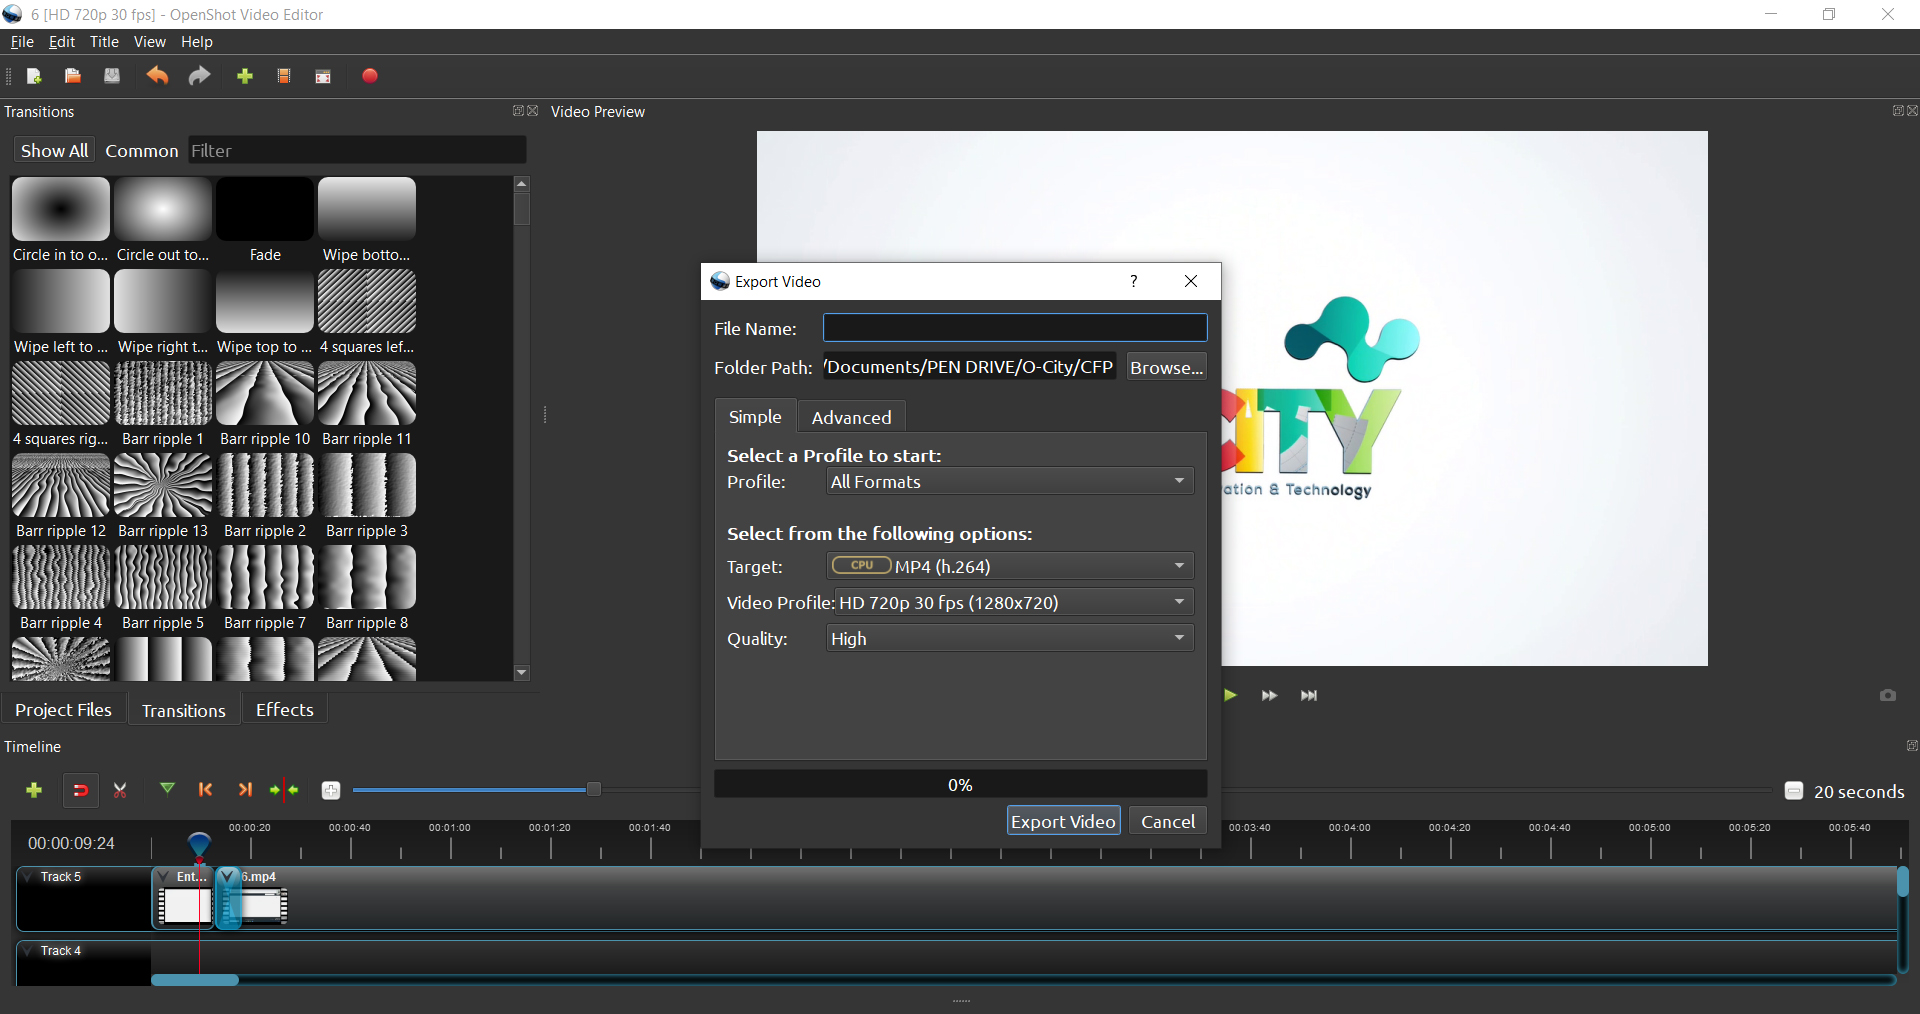
Image Copyright © GMStudio
This panel appears where you are able to name your project in the “File Name” section. The Folder Path section is where your project will be exported to. To change the save location click on the Browse button and selected the desired computer file.
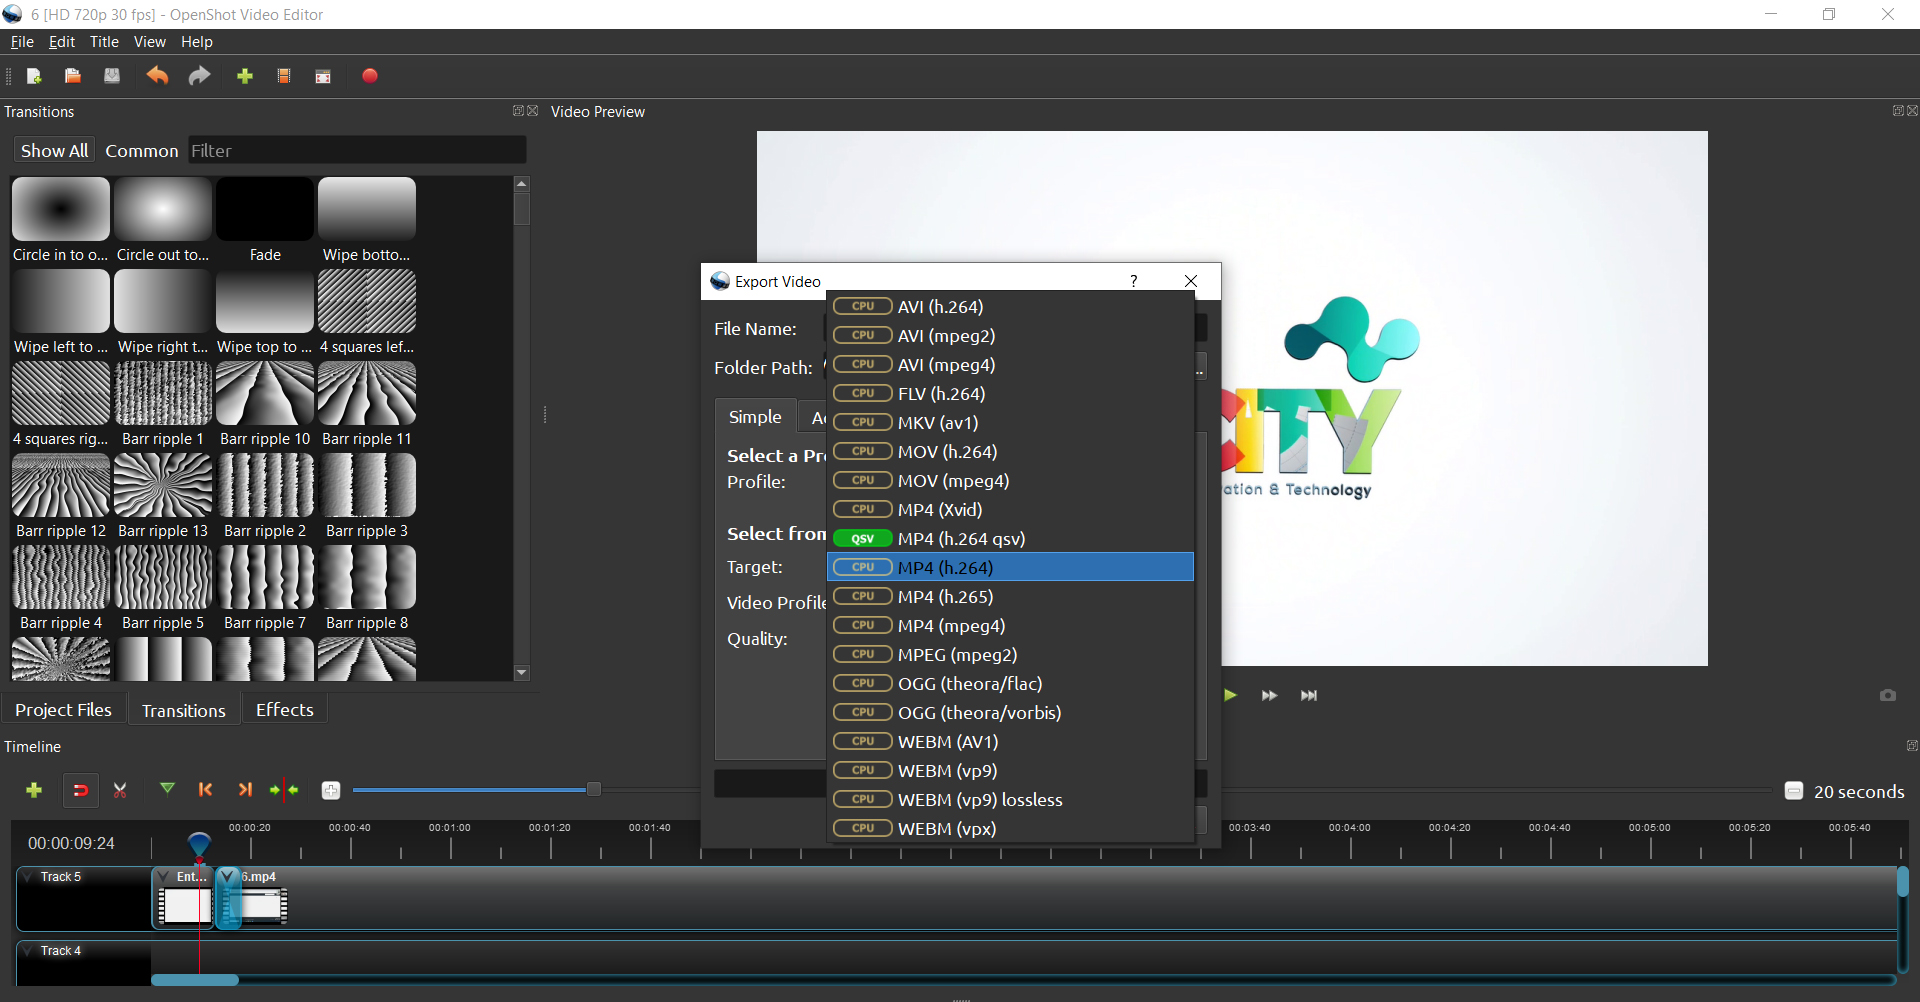
Image Copyright © GMStudio
The most common export selection is MP4(h.264). This one covers every platform and every software that plays videos. Other selections are of course used but you can find a possible error in another software, that’s why the MP4(h.264) is our safest option.
Next, you need to choose your Video Profile. There are various formats you are given as option. Check the format that is closest to your original video resolution and fps value.
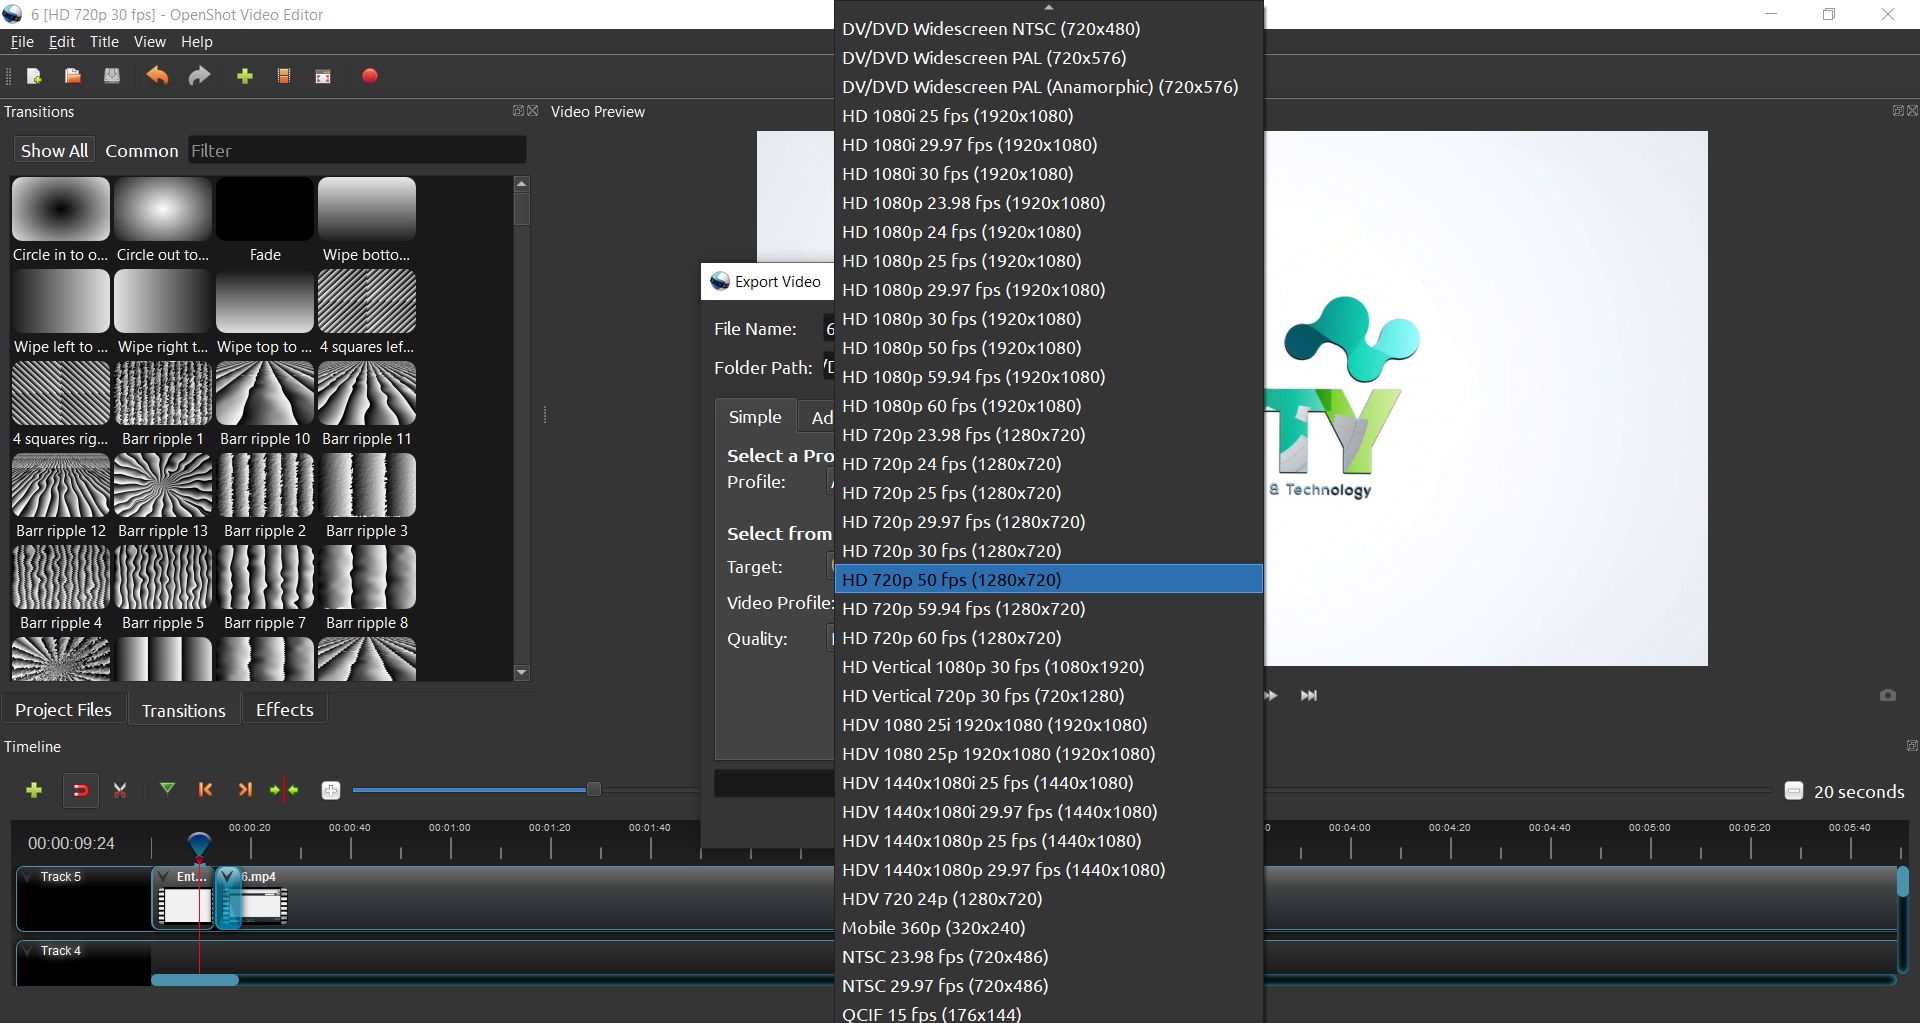
Image Copyright © GMStudio
Last step is to click the “Export Video” button. Once the bar loads to 100% click done. The video is officially exported to the file you have chosen.
Conclusions
This is what you need to know about the Export Settings in OpenShot. It’s very easy and simple. The right exporting settings can take your project to another level!
Video and PDF presentationClick to collapse
The following video explains the content of this lesson and shows some examples:
Here you have the content of the video in pdf in case you need to use it in your classroom:
Pill T4.L2.1 Export with OpenshootClick to collapse
Pill T4.L2.1 Export with Openshoot
In this pill you will learn how to export your video with Openshoot:
Lesson contents in PDFClick to collapse
Here you can find the Spanish version of this lesson content: