Content begins here
Main page content
Click to collapse
Development of the audiovisual project
This module will explain how to edit the multimedia project. Therefore, it is focused both on learners who complete the full training of the photography module within the technical section of the educational platform as well as those who, having previous knowledge of photography and sound, want to know how it should be edited, and finalize the audiovisual project.
Once the module is completed and approved, learners will be able to:
- Develop the photographic project associated with the chosen heritage reality.
- Edit the project, through the correct use of the photos, the audio of the script in voice-over and the music selected in various sound tracks.
- Create their own videos that will give them the opportunity to practice the use of ICT.
In this session, we will learn to combine the edited photos, the selected music and the audio of the voice over.
What is the first thing we should do?
- Think about the final duration of the audiovisual project
It is important not to exceed 3 minutes of video since we must capture the attention with few images and a summarized informative text.
- Select the photos that you will include, the music that will be in the background and the recording of the voiceover you have made
At this point in the training, we already have the edited photos, the selected music and the voice spoken.
- Download the application or software that will allow you to work with the three elements simultaneously
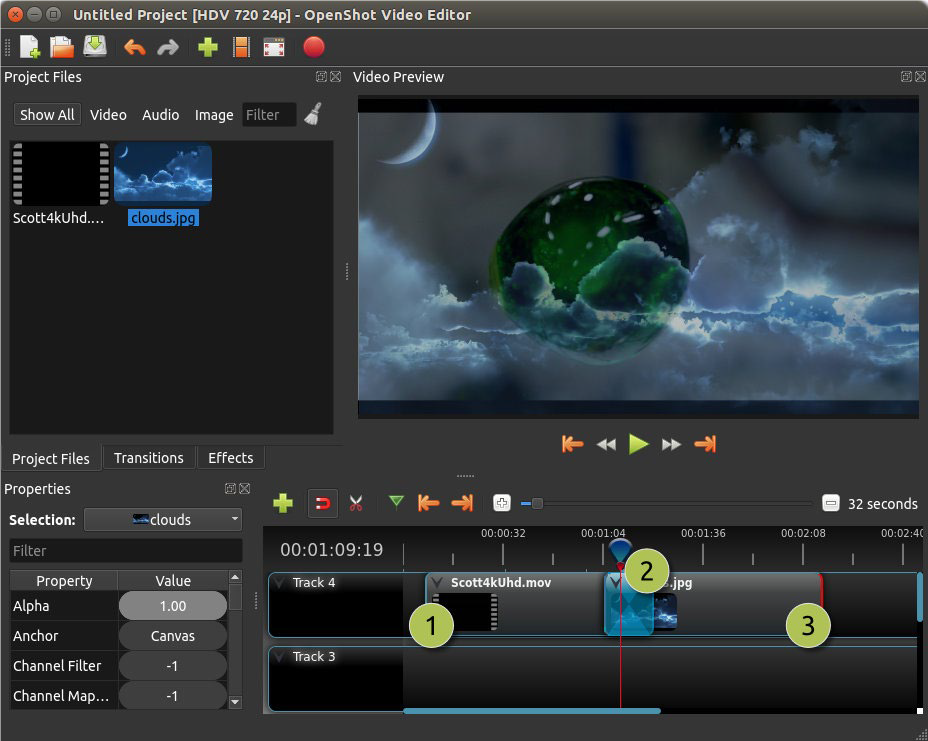
We are going to learn how to use the OpenShotsoftware.
Again, here we can use online applications to work directly on the website or download software to edit on our computer.
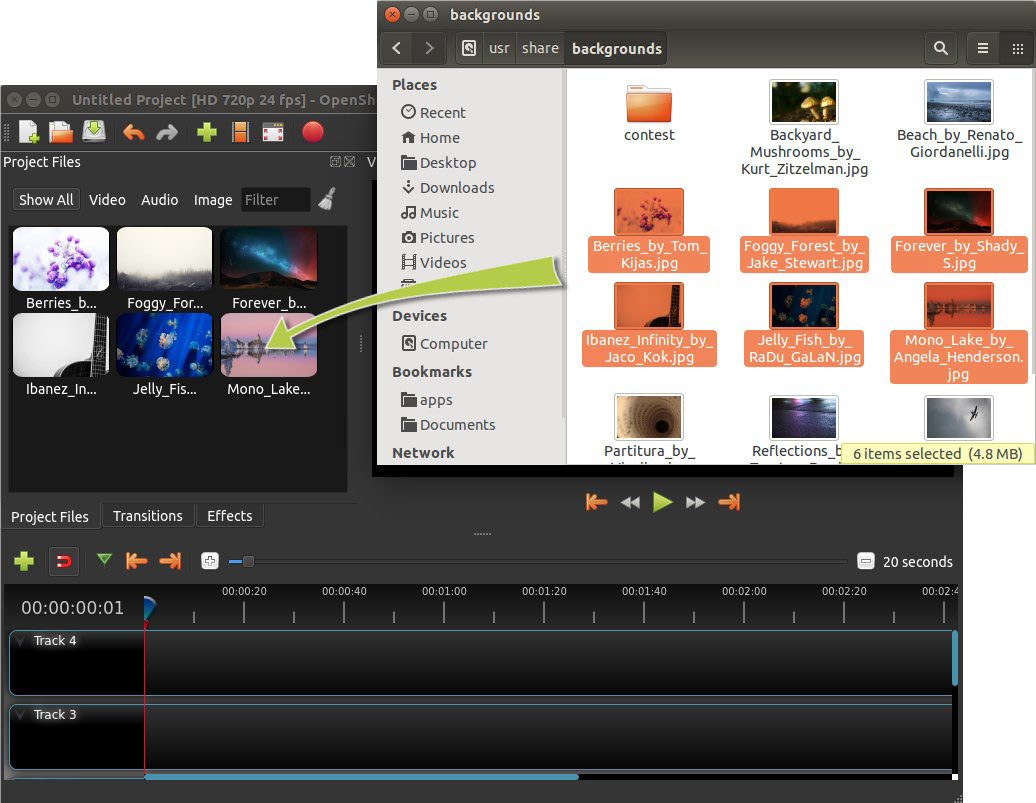
- We download the software, install it and open it.
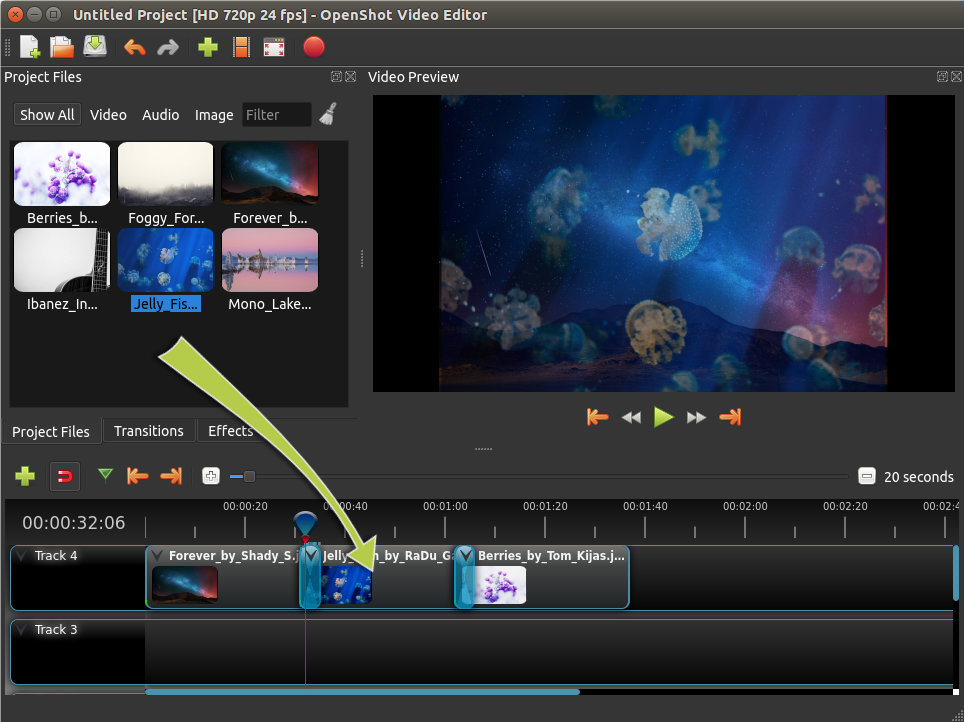
- We open and insert the photos that we are going to use.
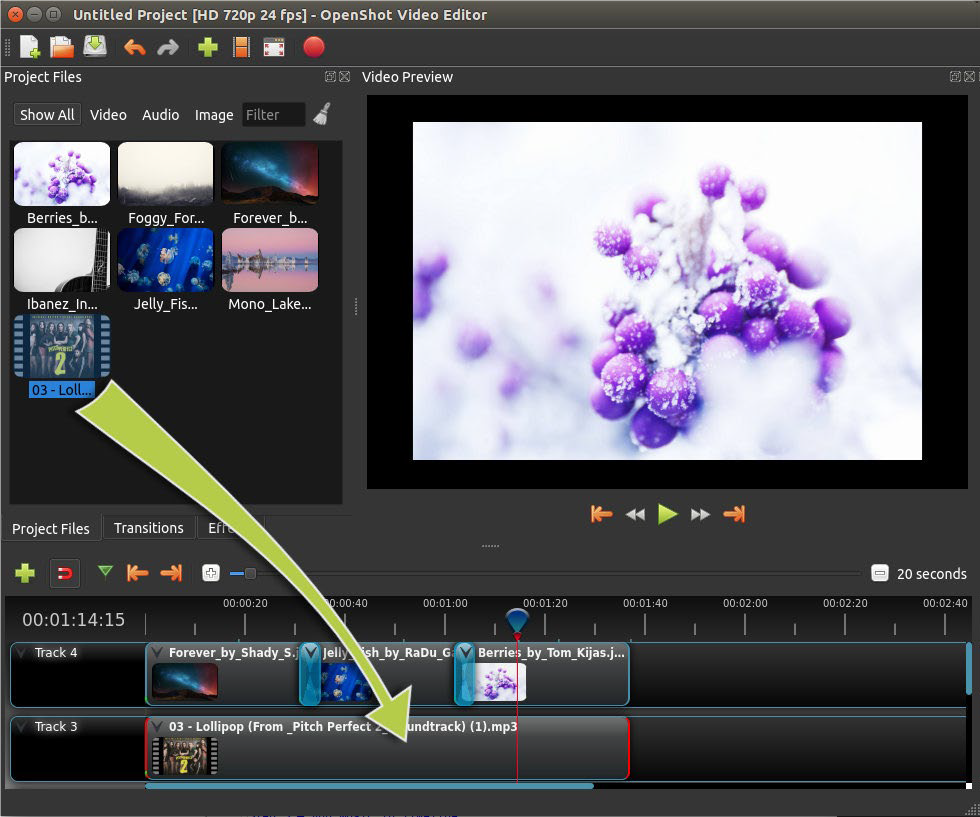
- We open and insert the music that we are going to use.
- We open and insert the recording of the script we have made.
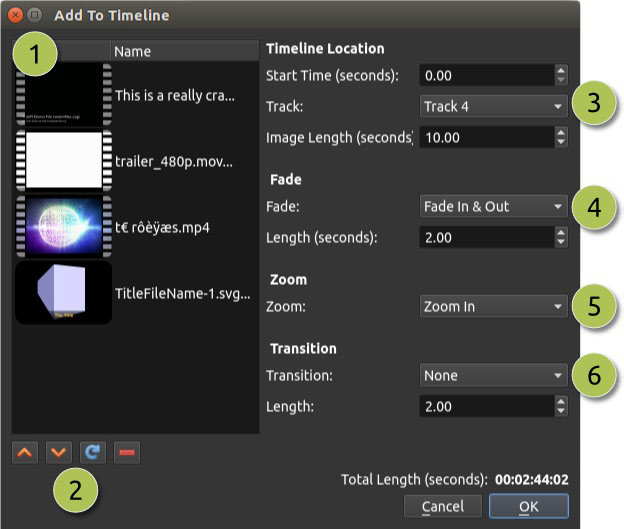
- We place the transitions, measure the time and adjust the audio volumes
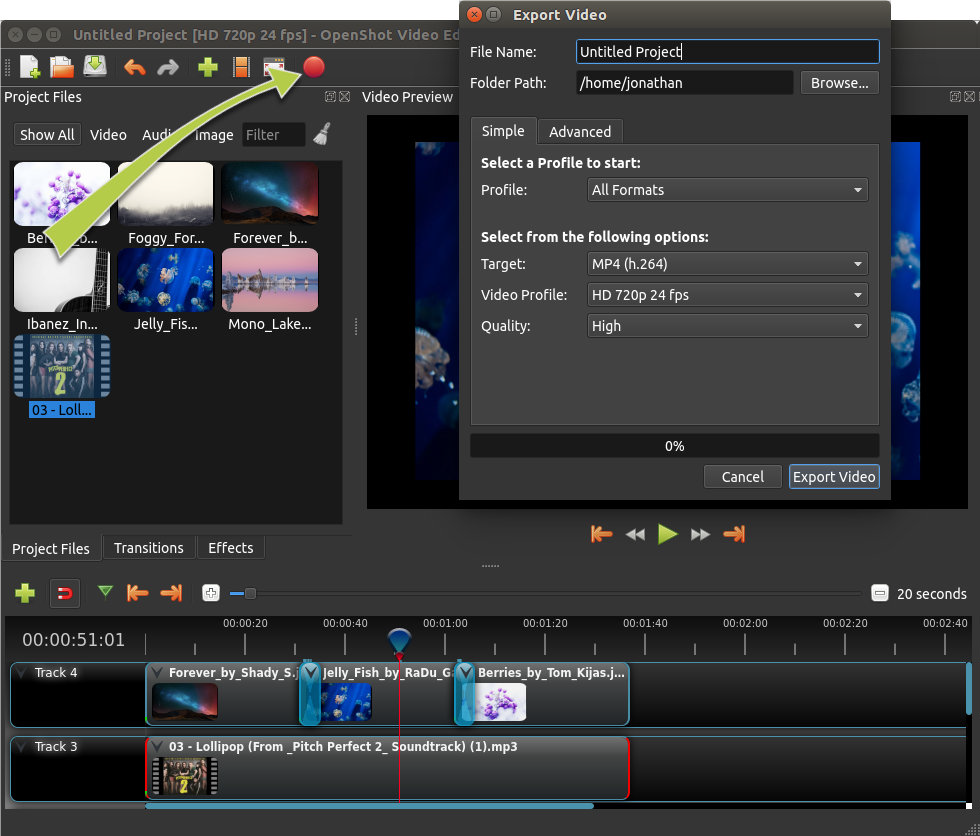
- Finally, we export the video for the audiovisual project.
Conclusions
It is important to know how to summarize the information in a few photos and in a few minutes. Knowing the software to integrate all the elements will be essential to develop a good audiovisual project.
Video and PDF presentationClick to collapse
The following video explains the content of this lesson and shows some examples:
Video T3.L2. Audio-visual project
Here you have the content of the video in pdf in case you need to use it in your classroom:
Pill T3.L2.1. Adding subtitles with OpenshotClick to collapse
Pill T3.L2.1. Adding subtitles with Openshot
The following video shows how to add subtitles using Openshot.
Lesson contents in PDFClick to collapse
Here you have the contents of the lesson in PDF: