Content begins here
Contenido de la página principal
Pulsa para colapsar
Editing Essentials
In this lesson we will learn how to use the open source software OpenShot to edit our video project. This is the main working panel of the program:
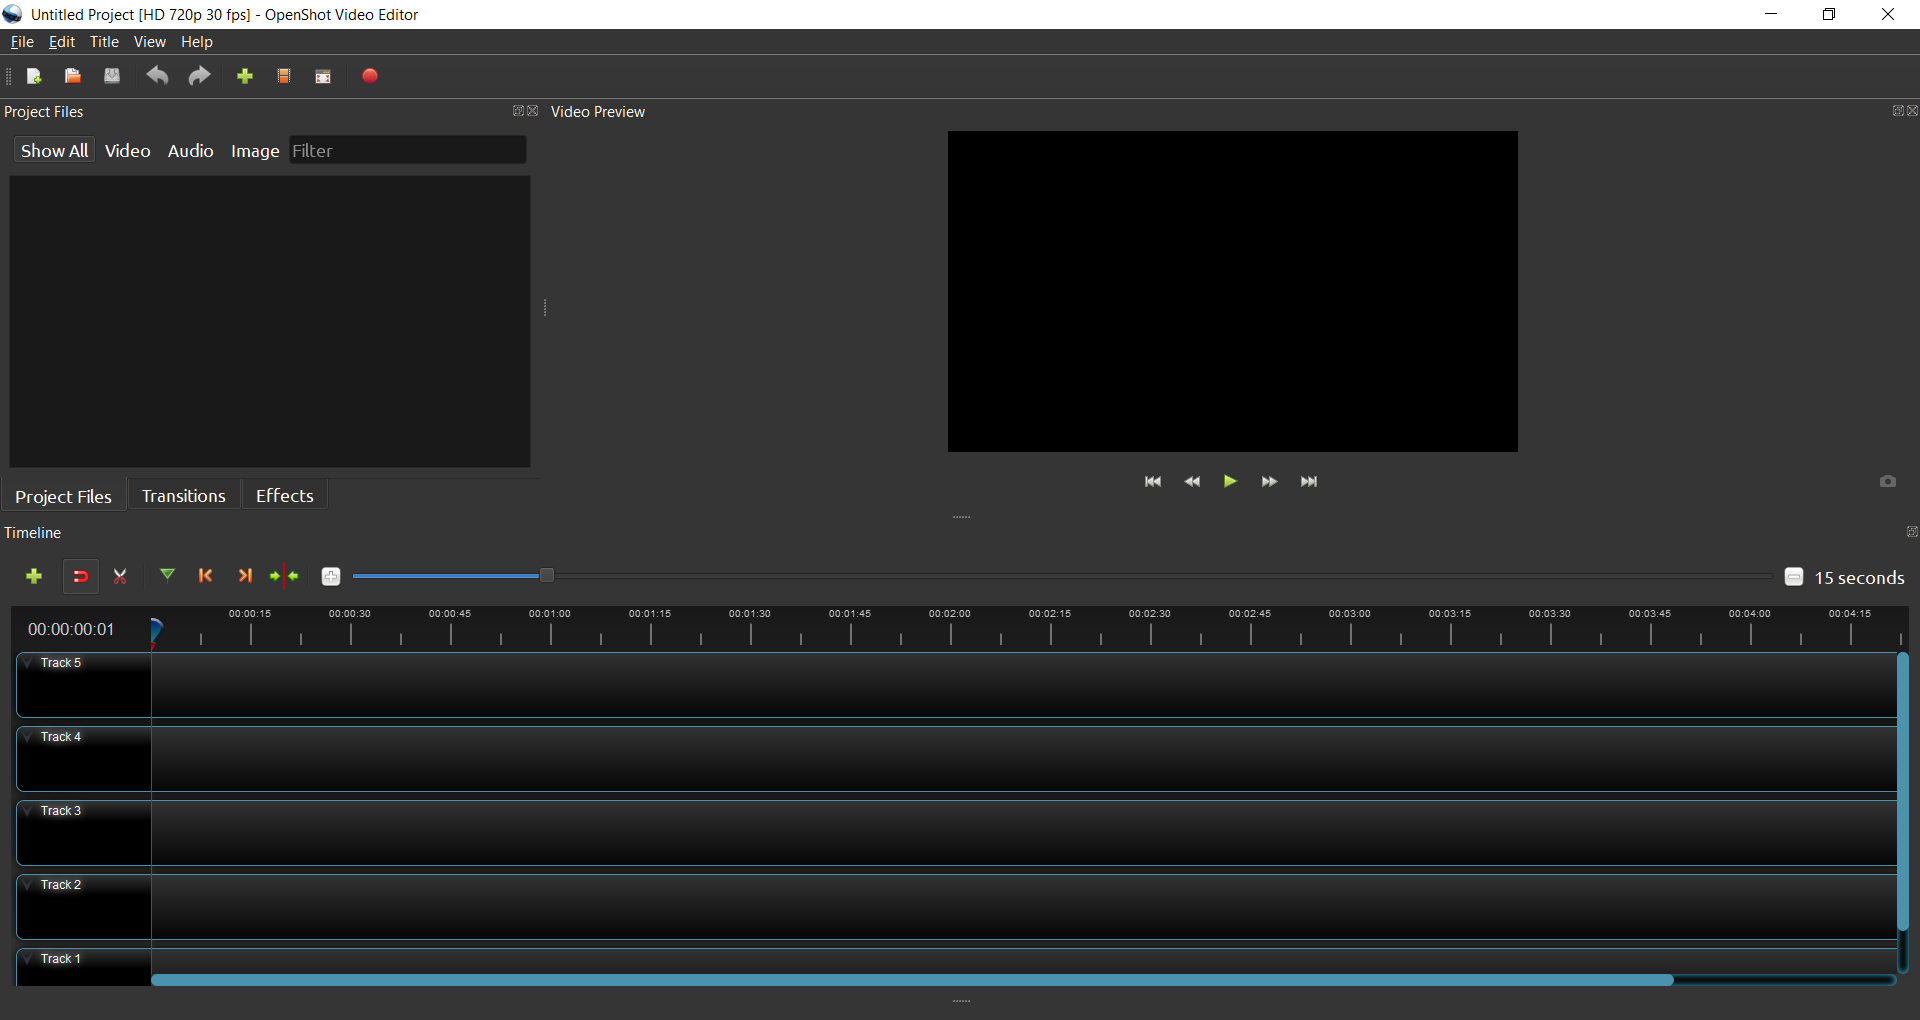
Image Copyright © GMStudio
To begin with, on the top left of your screen you can see the option “File”, where is the “Import File” button. Select all your video and audio files to include them in the project.
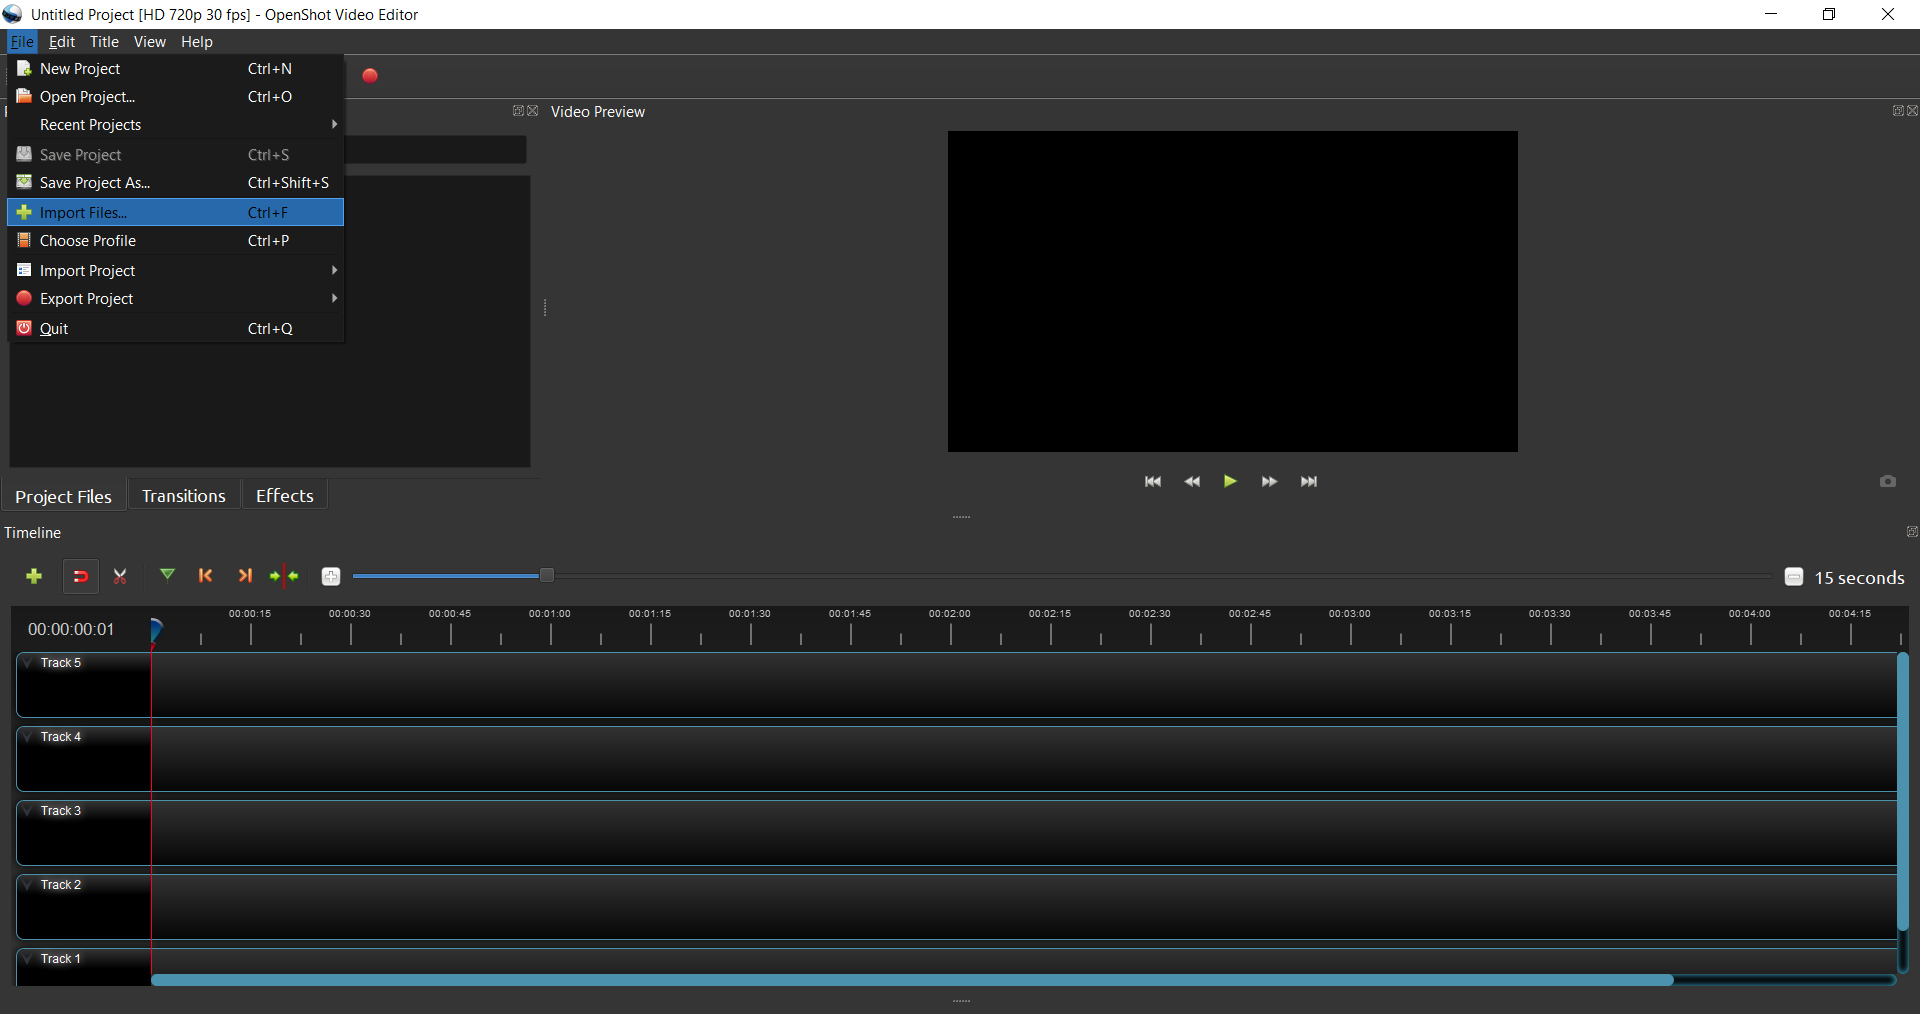
Image Copyright © GMStudio
The “Choose Profile” option lets you select the resolution you are using, the FPS you are using in your timeline. It’s very important to use the same timeline as your recorded footage’s format (e.g. HD 720p 30 fps (1280x720)). As you can see in the images below you can change the resolution options by clicking the arrow and choosing the ideal option for your footage.
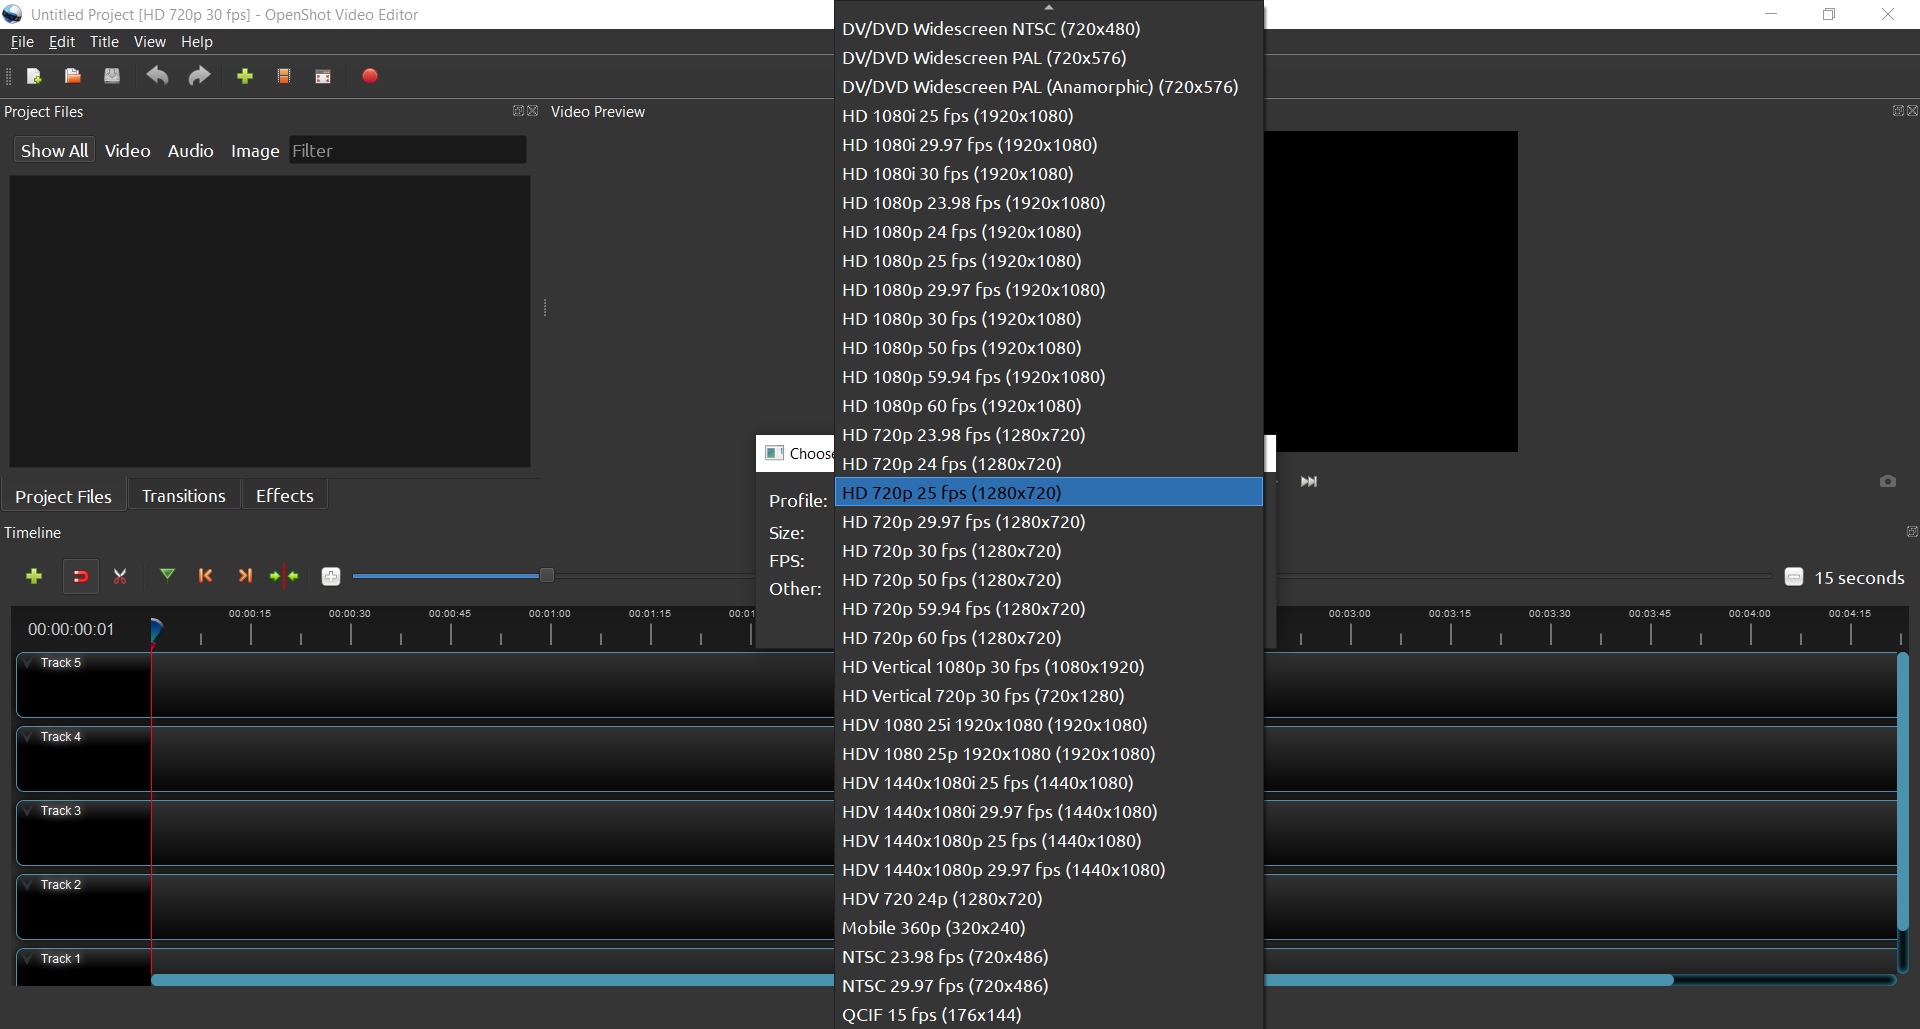
Image Copyright © GMStudio
After the configuration of the project, you have to move all your resources to the time line. To do it you only need to drag and drop each file following the orden and instructions you included in your technical script. If you can’t find a file you have already generated or imported make sure to click “Show All”
It is advisable to put each type of resource in a different track. For example, use Track 1 to include the videos of your sequences, Track 2 for the voice-over, Track 3 for the ambient sound, Track 4 for music, Track 5 for logos (at the begining and the end of the video according to O-City requirements) and Track 6 for the subtitles. You will see in section “Video Preview” the video you are creating with the combination of resources.
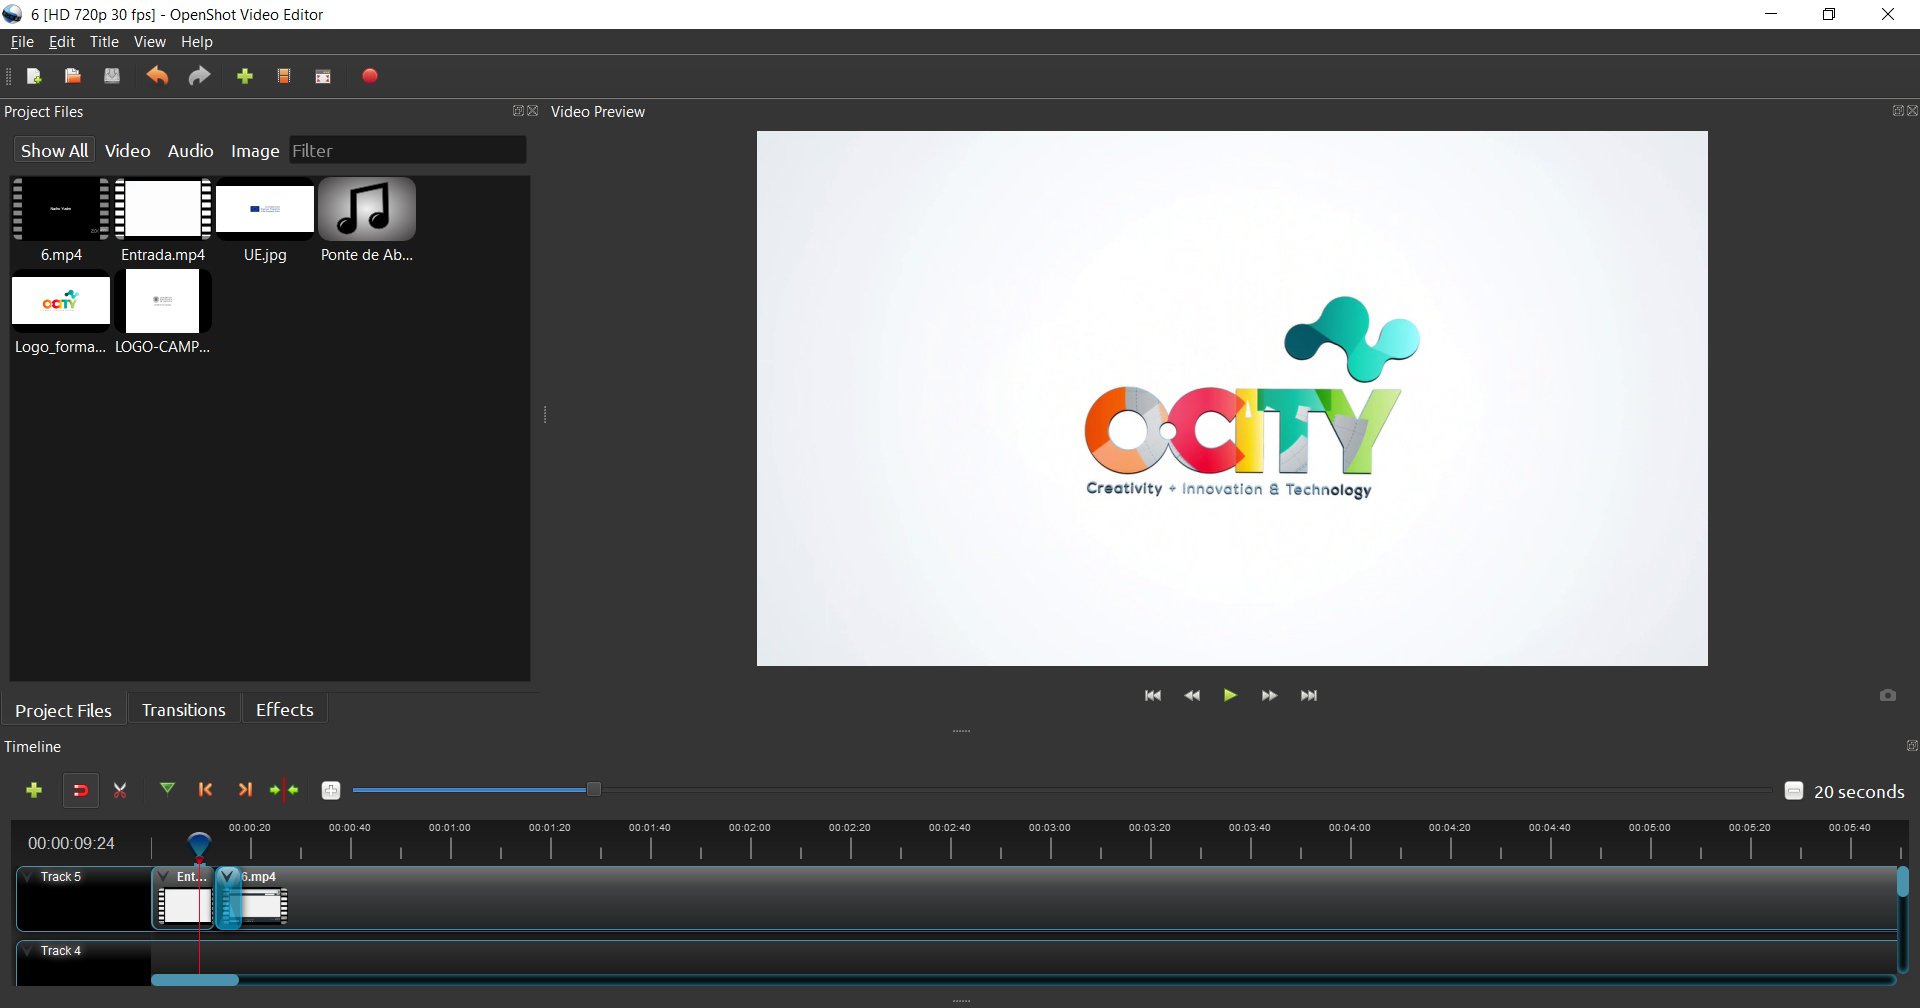
Image Copyright © UPV
If you need to reduce or increase the default time of some element, you just have to drag its edge. On the other hand, if you want to increase or reduce the time of your whole project, you click on the blue line just above your timeline and drag it to the wanted time. Work with all your tracks till you have the multimedia product you want in the “ Video Preview ”
Next to your File button, there is an Edit button, where is located the useful Undo (Ctrl+Z).

Image Copyright © GMStudio
Adding subtitles
To include the subtitles to your project, click on the Title Button.
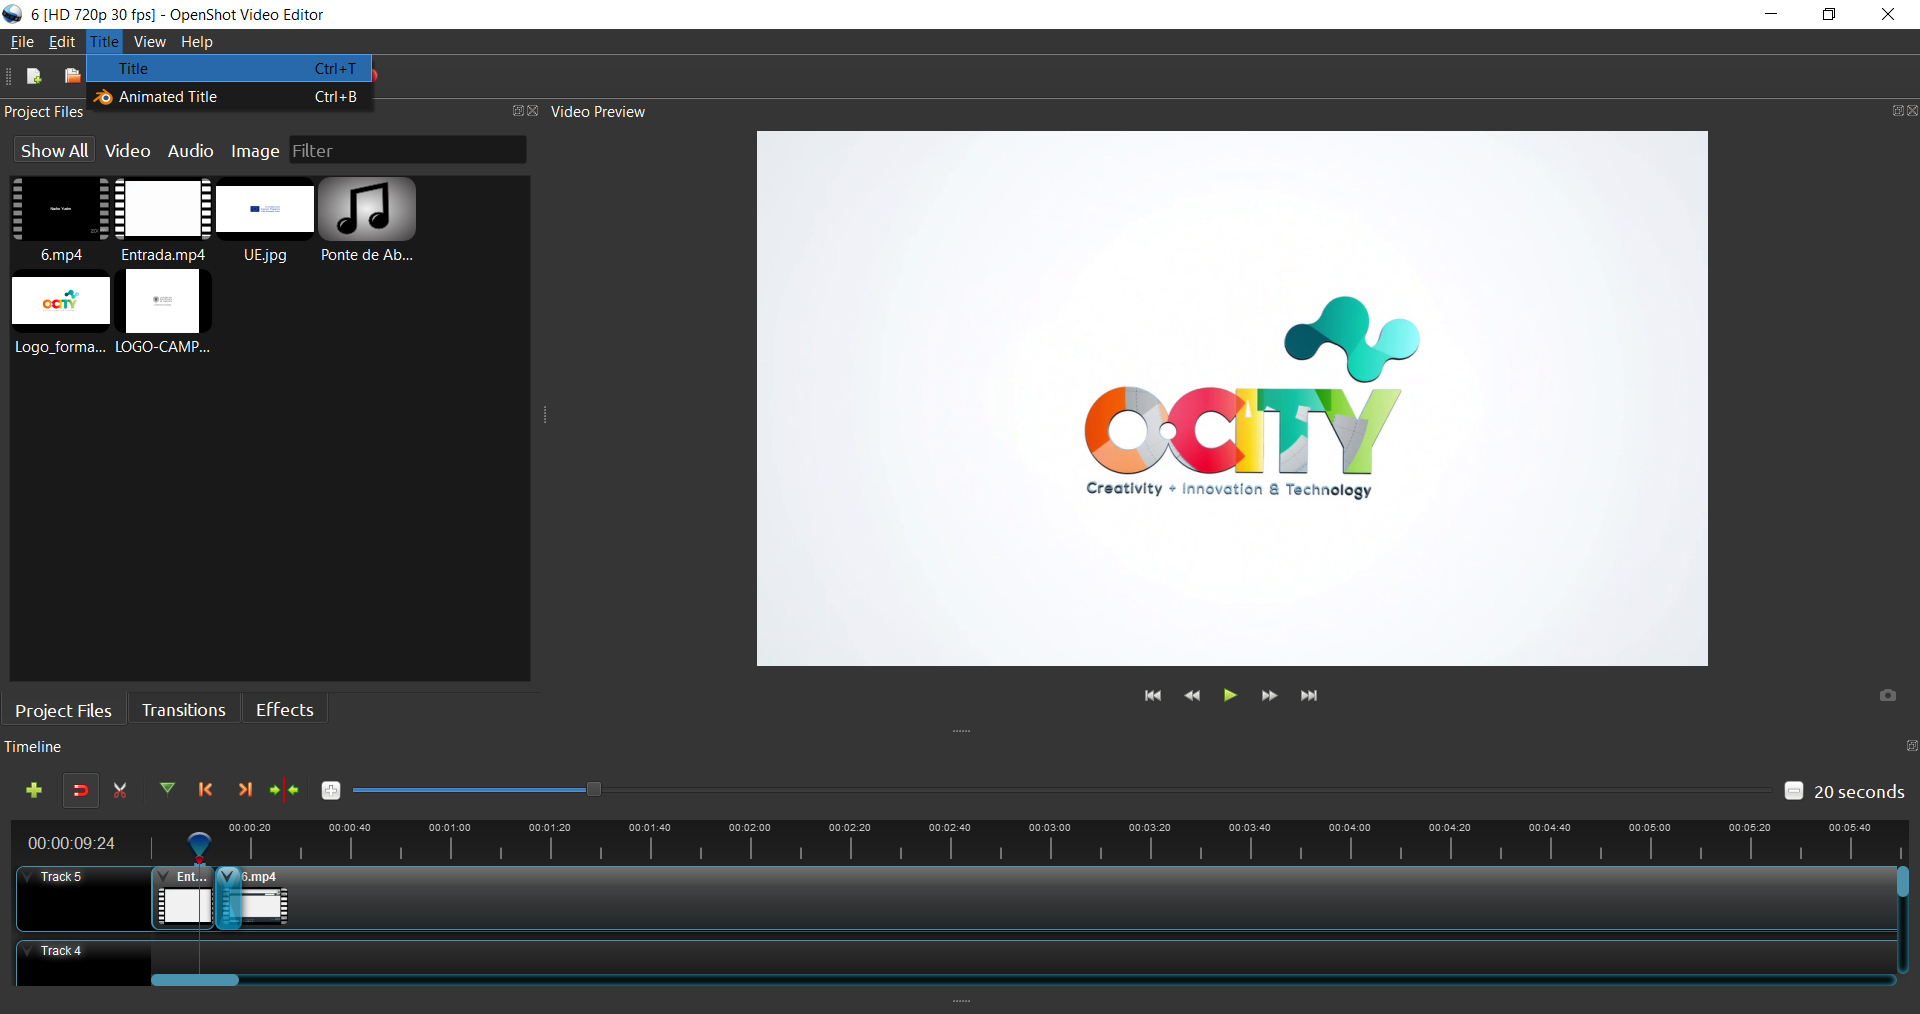
Image Copyright © GMStudio
Then, several templates will be shown. You should select the template “Bar 3”, so the subtitles will appear at the bottom of your video. You need to divide your narrative script into pieces so that the subtitles occupy a maximum of 2 lines in the screen. You should save each of these pieces in an easily recognizable way by changing the “File Name” section. For example, if you divide sequence 1 into 4 pieces, you can name the files as follows: subt_seq1_1, subt_seq1_2, subt_seq1_3 and subt_seq1_4. The content of each piece of the narrative script should be copied in section “Line 1”.
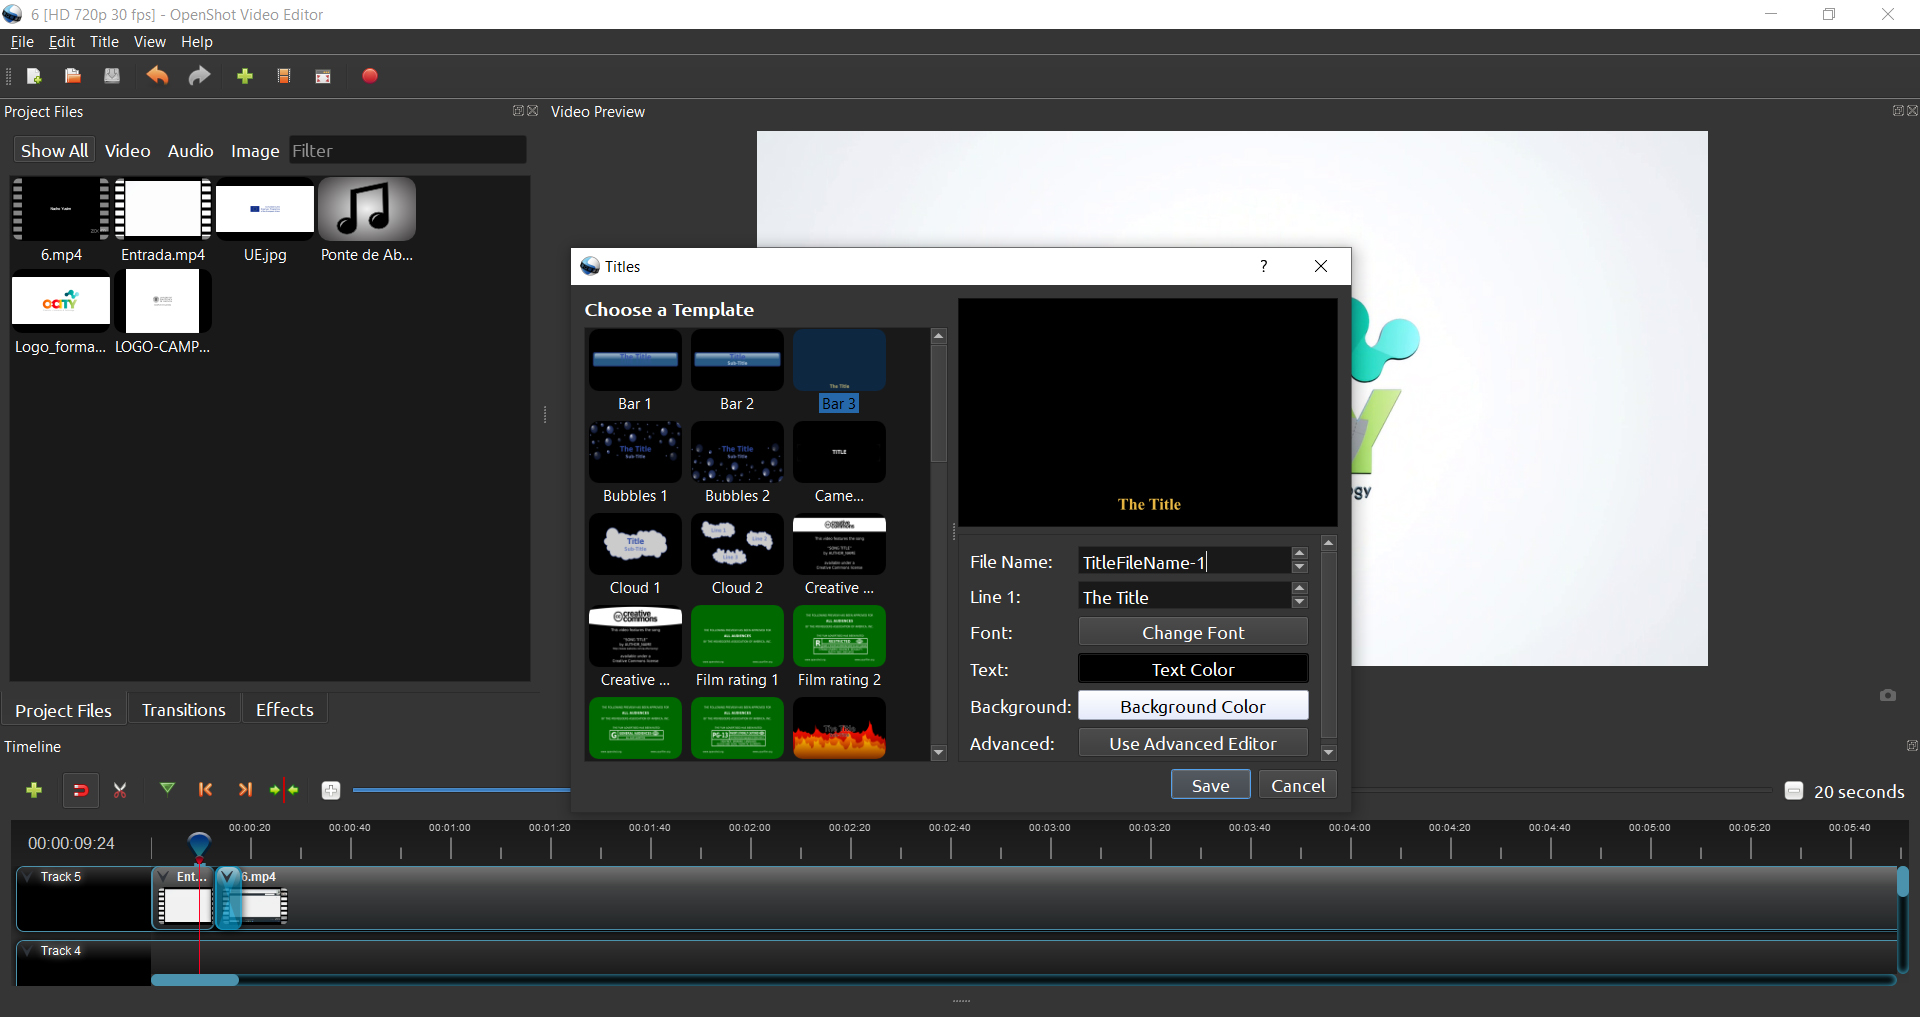
Image Copyright © GMStudio
You also need to change the Font in order to meet with O-City requirements, that is, Calibri size 11; and also set the “Background Color” to yellow. When you finish with the necessary changes don’t forget to click save.
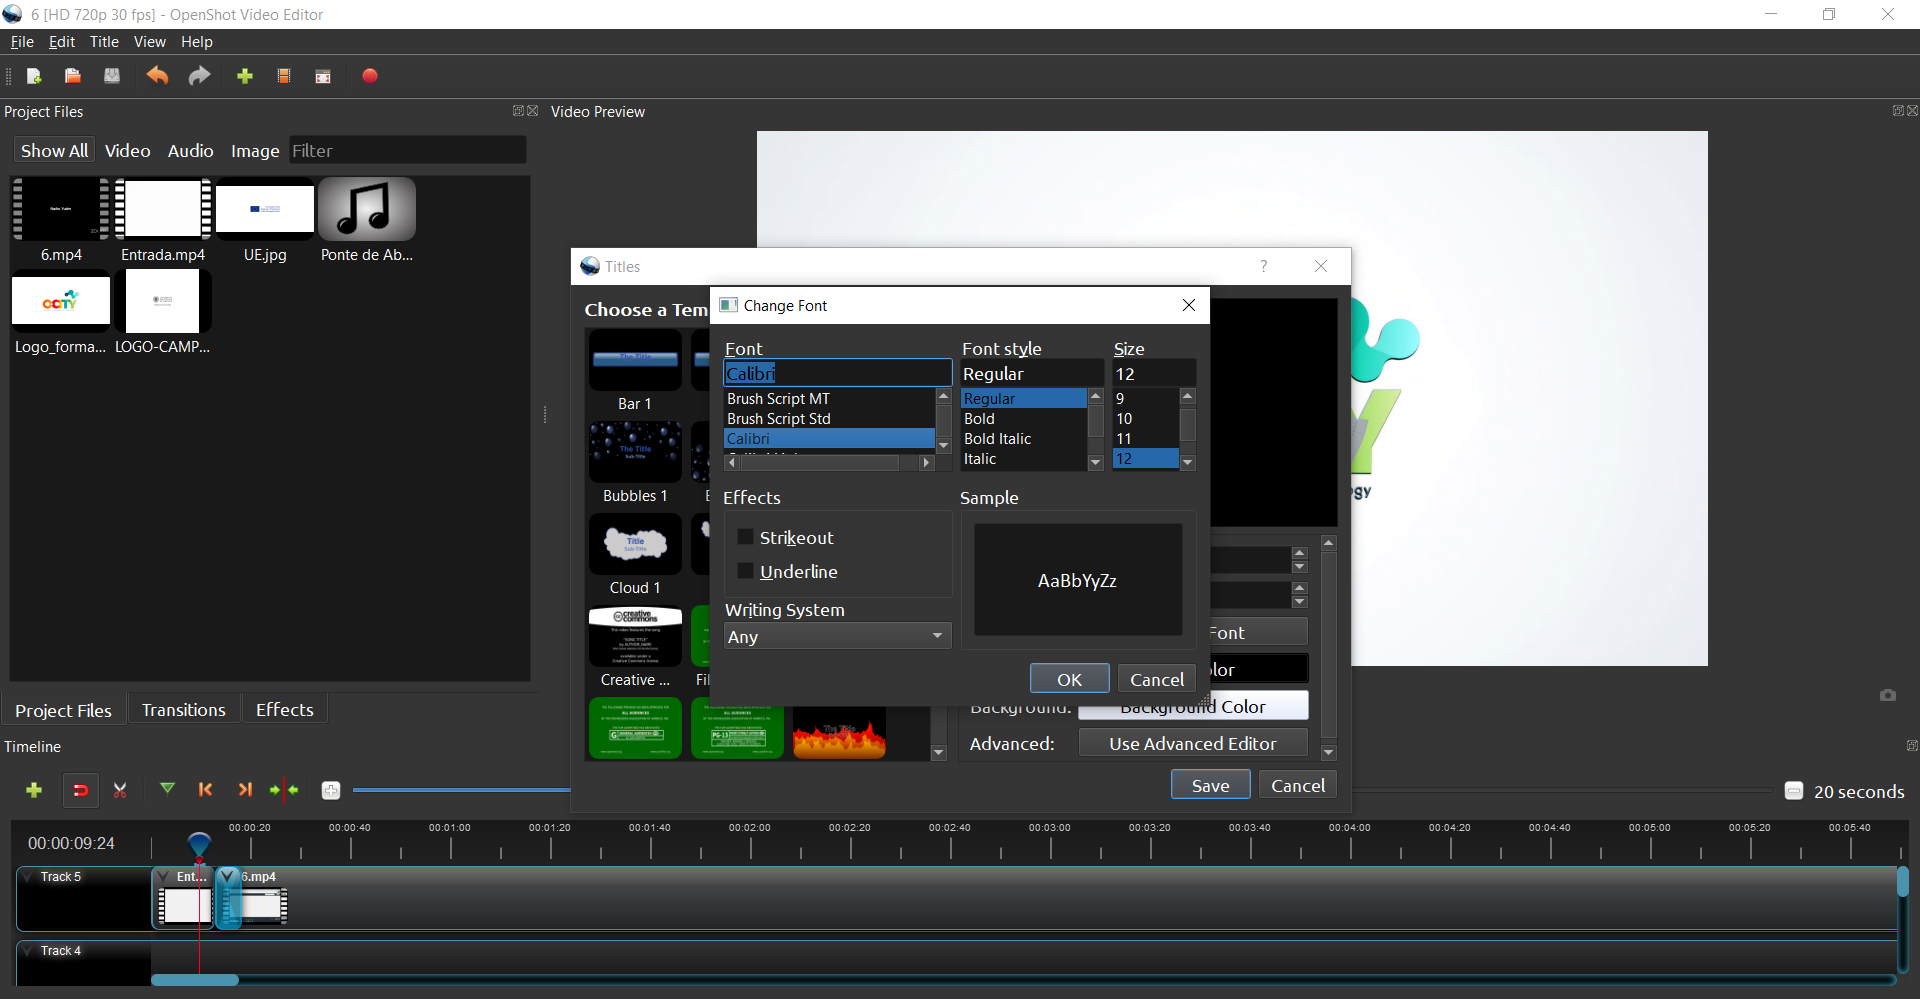
Image Copyright © GMStudio
Once you have finished with the subtitles generation, all the generated files will appear in Section “Project Files”. To insert the subtitles into your time line you just have to drag and drop each subtitle file to a new track. Place them following the order of your narrative script (subt_seq1_1, subt_seq1_2, …, subt_seq2_1, subt_seq2_2, …) and make sure you synchronize the subtitles with the voice-over by dragging the end of each subtitle file.
Adding effects and transitions
On the left side of your screen, there are many different options that mostly have to do with your properties and effects control. Try to experiment with these options so that you know the effects they provide to your project.
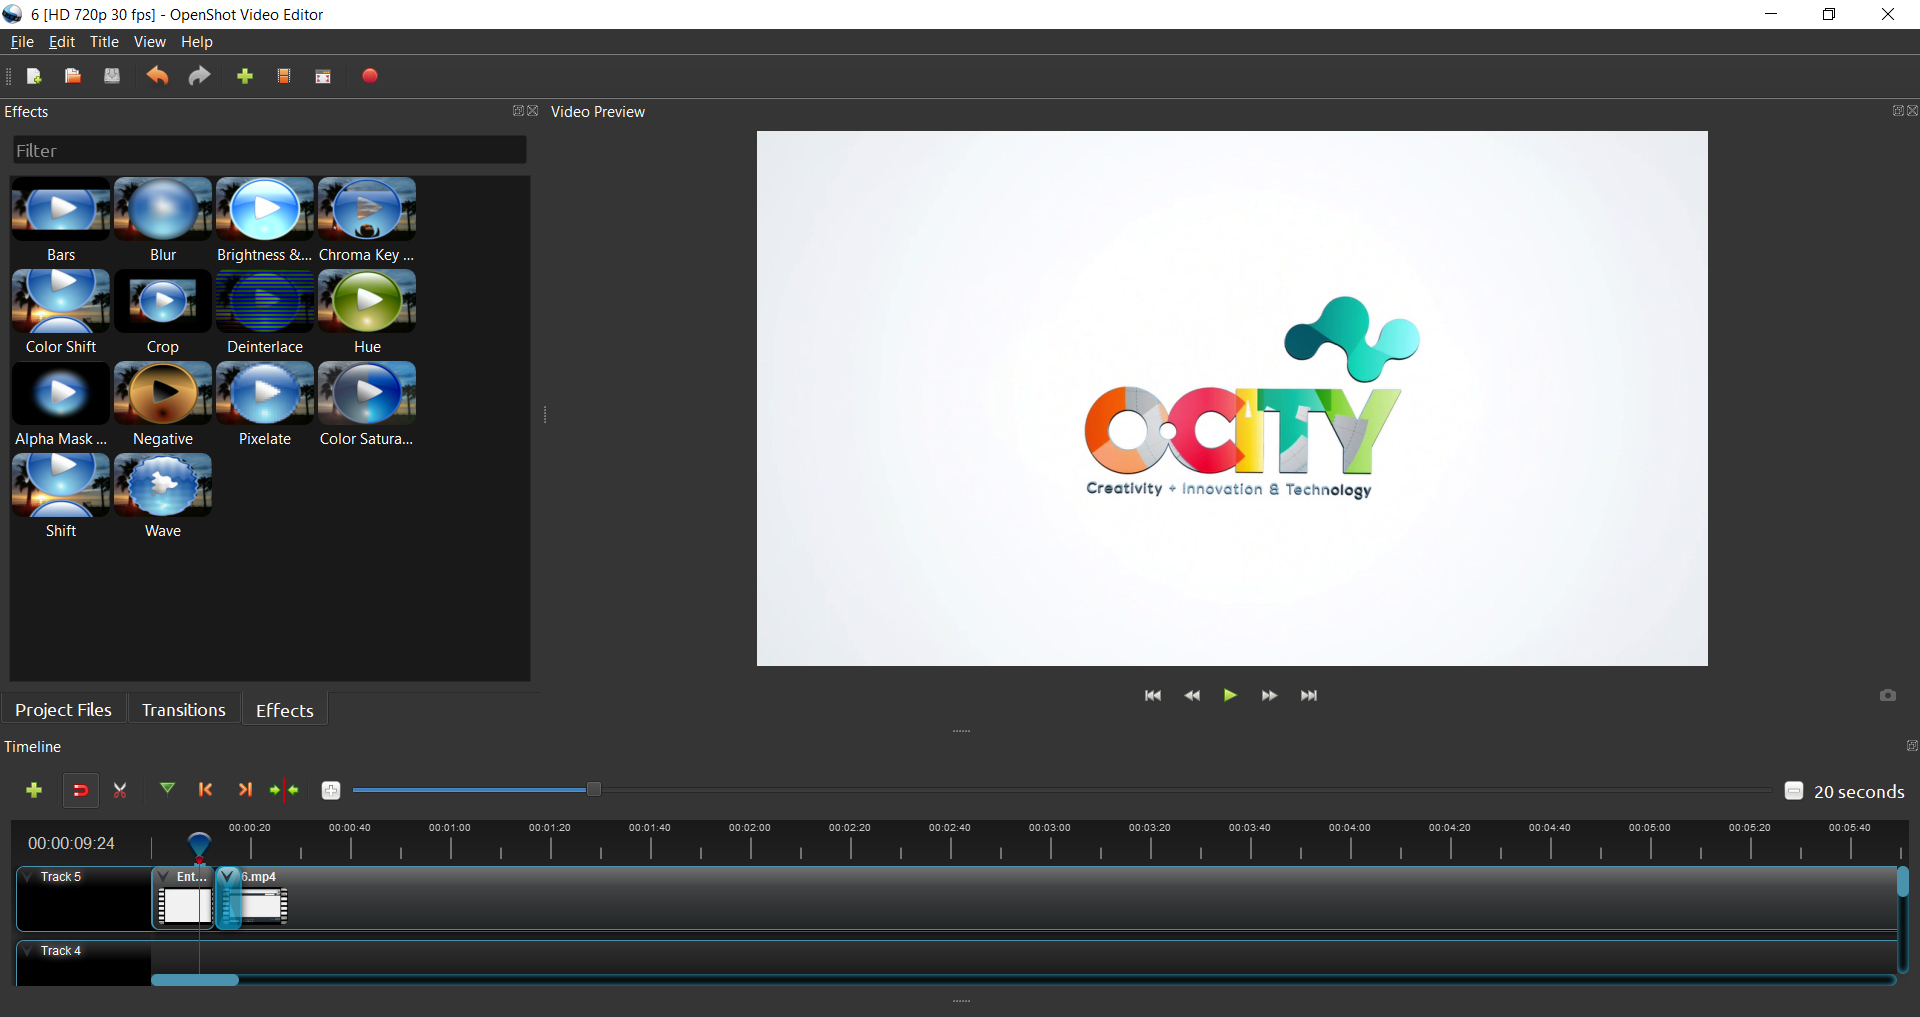
Image Copyright © GMStudio
Above your timeline you can see the “Transitions” button. You can enrich your footage with different types of transitions. To meet O-City requirements you should choose “Fade” transition. You need to drag and drop the transition and place it between the visual resources you choose.
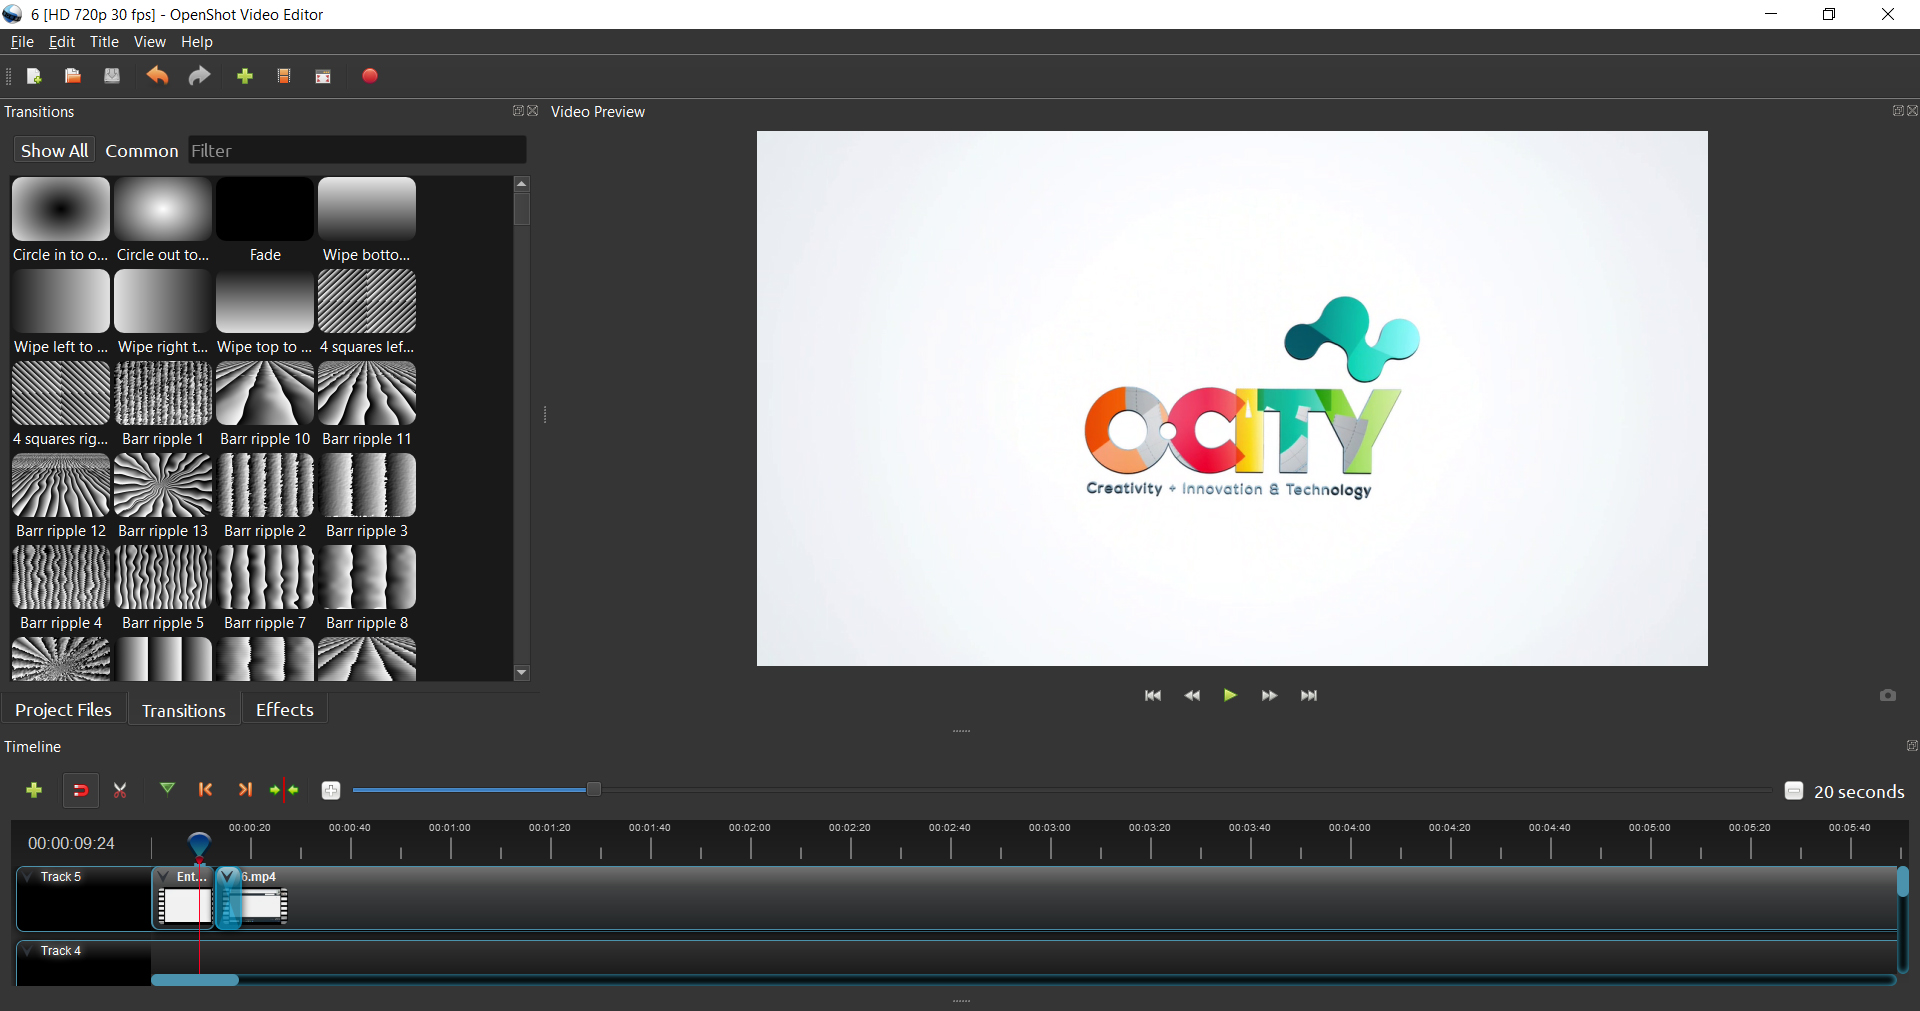
Image Copyright © GMStudio
Next to the “Transitions” button you can find the “Effects” button. To include some effect to your video, you need to drag the desired effect and drop it on your time line.
On your top left, in the Selection section, select the effect’s name you want to edit and there appears a list of properties that you can change.
Conclusions
This is what you need to know about the Openshot Software to start playing with it. It’s very easy and simple to use. Make sure to experiment!
Video and PDF presentationPulsa para colapsar
The following video explains the content of this lesson and shows some examples:
Here you have the content of the video in pdf in case you need to use it in your classroom:
Pill T4.L1.1 OpenshootPulsa para colapsar
Pill T4.L1.1 Openshoot
In this pill you will learn how to edit your video with Openshoot:
Lesson contents in PDFPulsa para colapsar
Here you have the contents of the lesson in PDF: